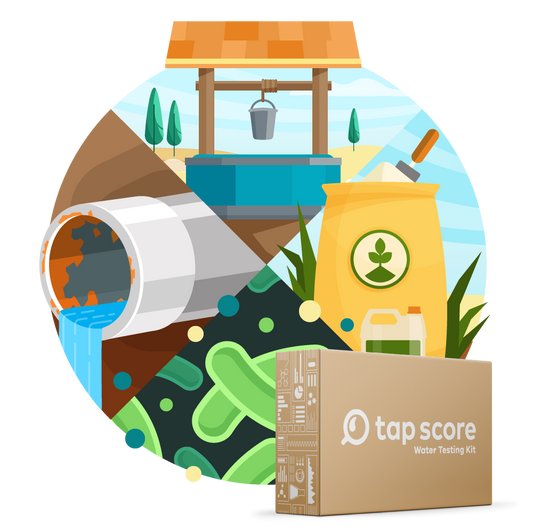
Collecting a Water Sample
Our blog is written by real experts— not AI. Each guide is carefully reviewed and updated based on the latest research. Plus, with no affiliate links, you can count on unbiased insights you can trust.
When it comes to collecting a water sample for testing you're going to have to make some decisions. Because a test provides a snapshot of your water quality at a given time, the decisions you make around things like choosing a sampling location and sampling method may impact the results.
Ultimately, there are no wrong answers. Determining which options you choose simply comes down to what information you are most interested in knowing. We’ve summarized some common choices you may be faced with when collecting a water sample and what they could mean for your results.
Choosing a Water Sampling Location
If you are testing one sample (i.e. you ordered one kit), we generally recommend that you collect the sample at the location you drink from the most frequently as this will best represent the water quality you consume most regularly. For many people, that could mean the kitchen faucet or a refrigerator dispenser, for example.
If you want to test your water at multiple locations (e.g. the kitchen faucet AND a filtered refrigerator dispenser), you'll need to order multiple testing packages.
Testing Unfiltered vs. Filtered Water
When choosing between testing unfiltered or filtered water, you must decide what information you're most interested in learning.
If you are most interested in untreated/raw water quality, then we suggest collecting the sample at a location before it has passed through any filter, softener, treatment unit, etc.
Alternatively, if you are more interested in the water quality post-filtration, we suggest you collect the sample after it has passed through a filtration device.
To truly compare unfiltered water against a filtered sample to see how well the device is performing, you need two separate testing packages, as "before and after" samples are considered two separate sources.
Choosing a Sampling Method
Along with where you collect your water sample, how (i.e. the sample collection method) you collect your sample can also impact the kind of information revealed in your results. Two common water sample collection methods are: first draw and fully-flushed.
Simply put, the main difference between these collection methods refers to how long the water you are collecting in the sampling containers has been sitting in the pipes prior to sample collection.
First Draw
A first draw sample contains water that has been stagnant in the pipes/plumbing for an extended period of time (usually 6-18 hours).
- This kind of sample is best collected first thing in the morning, before any water throughout the home or building is run for several hours.
- A first draw sample likely will demonstrate any impacts your plumbing has on your water quality. This is because the water in this kind of sample has had time to interact with your plumbing and may reveal plumbing-related issues.
- This approach is ideal if you are concerned about old pipes and fixtures. A first draw sample will likely capture a “worst case scenario” (i.e. the highest concentration) for plumbing-related metals like lead, copper, and nickel.
Fully-flushed
A fully flushed sample, on the other hand, is a sample that is collected after the tap has been run for about 5 minutes.
- Running the tap (i.e. flushing the water line) clears the plumbing on any stagnant water that has been sitting in the pipes. Subsequently, the water that is collected after this 5 minute period will tell you more about the water quality as it comes directly from the source.
- This method is frequently used by those on a private well and are concerned about the source water quality.
- However, the fully-flushed method is also sometimes recommended for specific contaminants, regardless if you are served by a well or a public utility. For example, some contaminants rapidly dissipate out of water and into the surrounding air (such as volatile organic compounds). Subsequently, if water has been sitting stagnant in the pipes for an extended period of time, it is very likely that these types of contaminants have already volatilized (i.e. evaporated) out of the water and into the air. In these kinds of scenarios, it is best to collect a sample with water that has not been sitting in the pipes for hours. A fully-flushed sample achieves this as all stagnant water will have been flushed out of the pipes and the volatile compounds will not have had time to escape into the air and remain in the water.
- Subsequently, a fully-flushed sample will likely capture a “worst case scenario” (i.e. highest concentration) for things like volatile organic compounds (like chlorine and trihalomethanes), radon, etc.
Knowing What to Choose
As with all of the Tap Score tests, each water testing package includes easy-to-follow instructions. When a certain test does have a recommended sampling approach (method, location, etc.), the instructions do provide that information.
Can I Take a Sample from Two Different Faucets?
No! Even if one test kit comes with two separate bottles, it's vital to know these bottles are used for different analyses. You need to sample from the same faucet in order to get a complete picture of the water quality at that faucet.
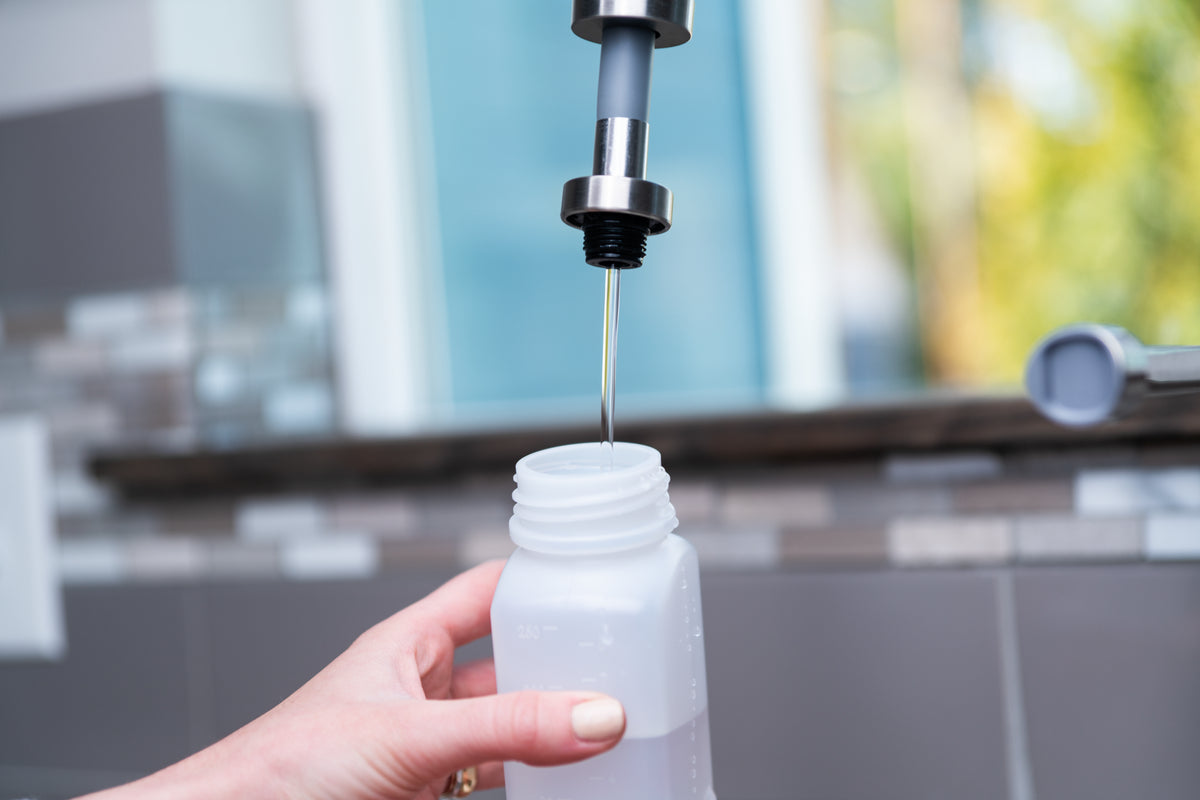
Why Does it Matter to Have No Air Space When You Collect VOC Samples?
The measurement of VOCs (Volatile Organic Compounds) involves the release of the gasses from the collected water sample to be prepped for analysis in the instrument. The VOCs are trapped within the water sample and are constantly trying to escape the water, in other words trying to get out into the air. When you collect a VOC sample, you are trying to fill the vial (sampling container) as full as possible to trap the VOCs in the water until they can be extracted at the laboratory.
The air in the vial, called headspace, is where the VOCs will escape into the vial between the cap of the vial and the water in the vial. If you have too much headspace in the vial then when the lab goes to open the vial the VOCs will escape before they can be collected for analysis. This will mean your results might not be representative of the actual VOCs present in the sample. This is why having no air space is so important.

Different sampling locations and methods simply provide a slightly different snapshot of the water quality at that time. Water quality is constantly changing and dynamic.The best sampling choices are the ones that provide some insight into the water quality that you care most about.

back to top
Related Articles
-

Why Tap Score Uses Certified Labs for Every Test
Laboratory certification in the water quality industry is as important as it is confusing. Here we try to disentangle the many threads of laboratory accreditation and certification. Read to learn...
-

Is Tap Water Safe for My Child? New Parents’ Guide
If you’re expecting a child or already have an infant or toddler in the home, your drinking water quality is more important than ever. We’ve prepared the following scenario guide...
-

HGL vs MCLG vs MCL: What Drinking Water Standards Mean
Confused by HGL, MCLG, and MCL? Learn how these drinking water standards differ and what they mean for your health and test results.


Shop our most
popular tests
- I Have City Water
- City Water
- I Have Well Water
- Well Water